We’re thrilled to have a guest blog post from crafter extraordinaire Emma Mitchell, aka Silverpebble. Emma is a jewellery designer, craft teacher, writer, naturalist and an absolute whizz with a crochet hook. She also has a particularly dreamy Instagram feed. She’s here to show you how to make a beautiful Spring garland using simple materials that you probably already have sitting on your desk! Over to you, Emma…
Image by Emma Mitchell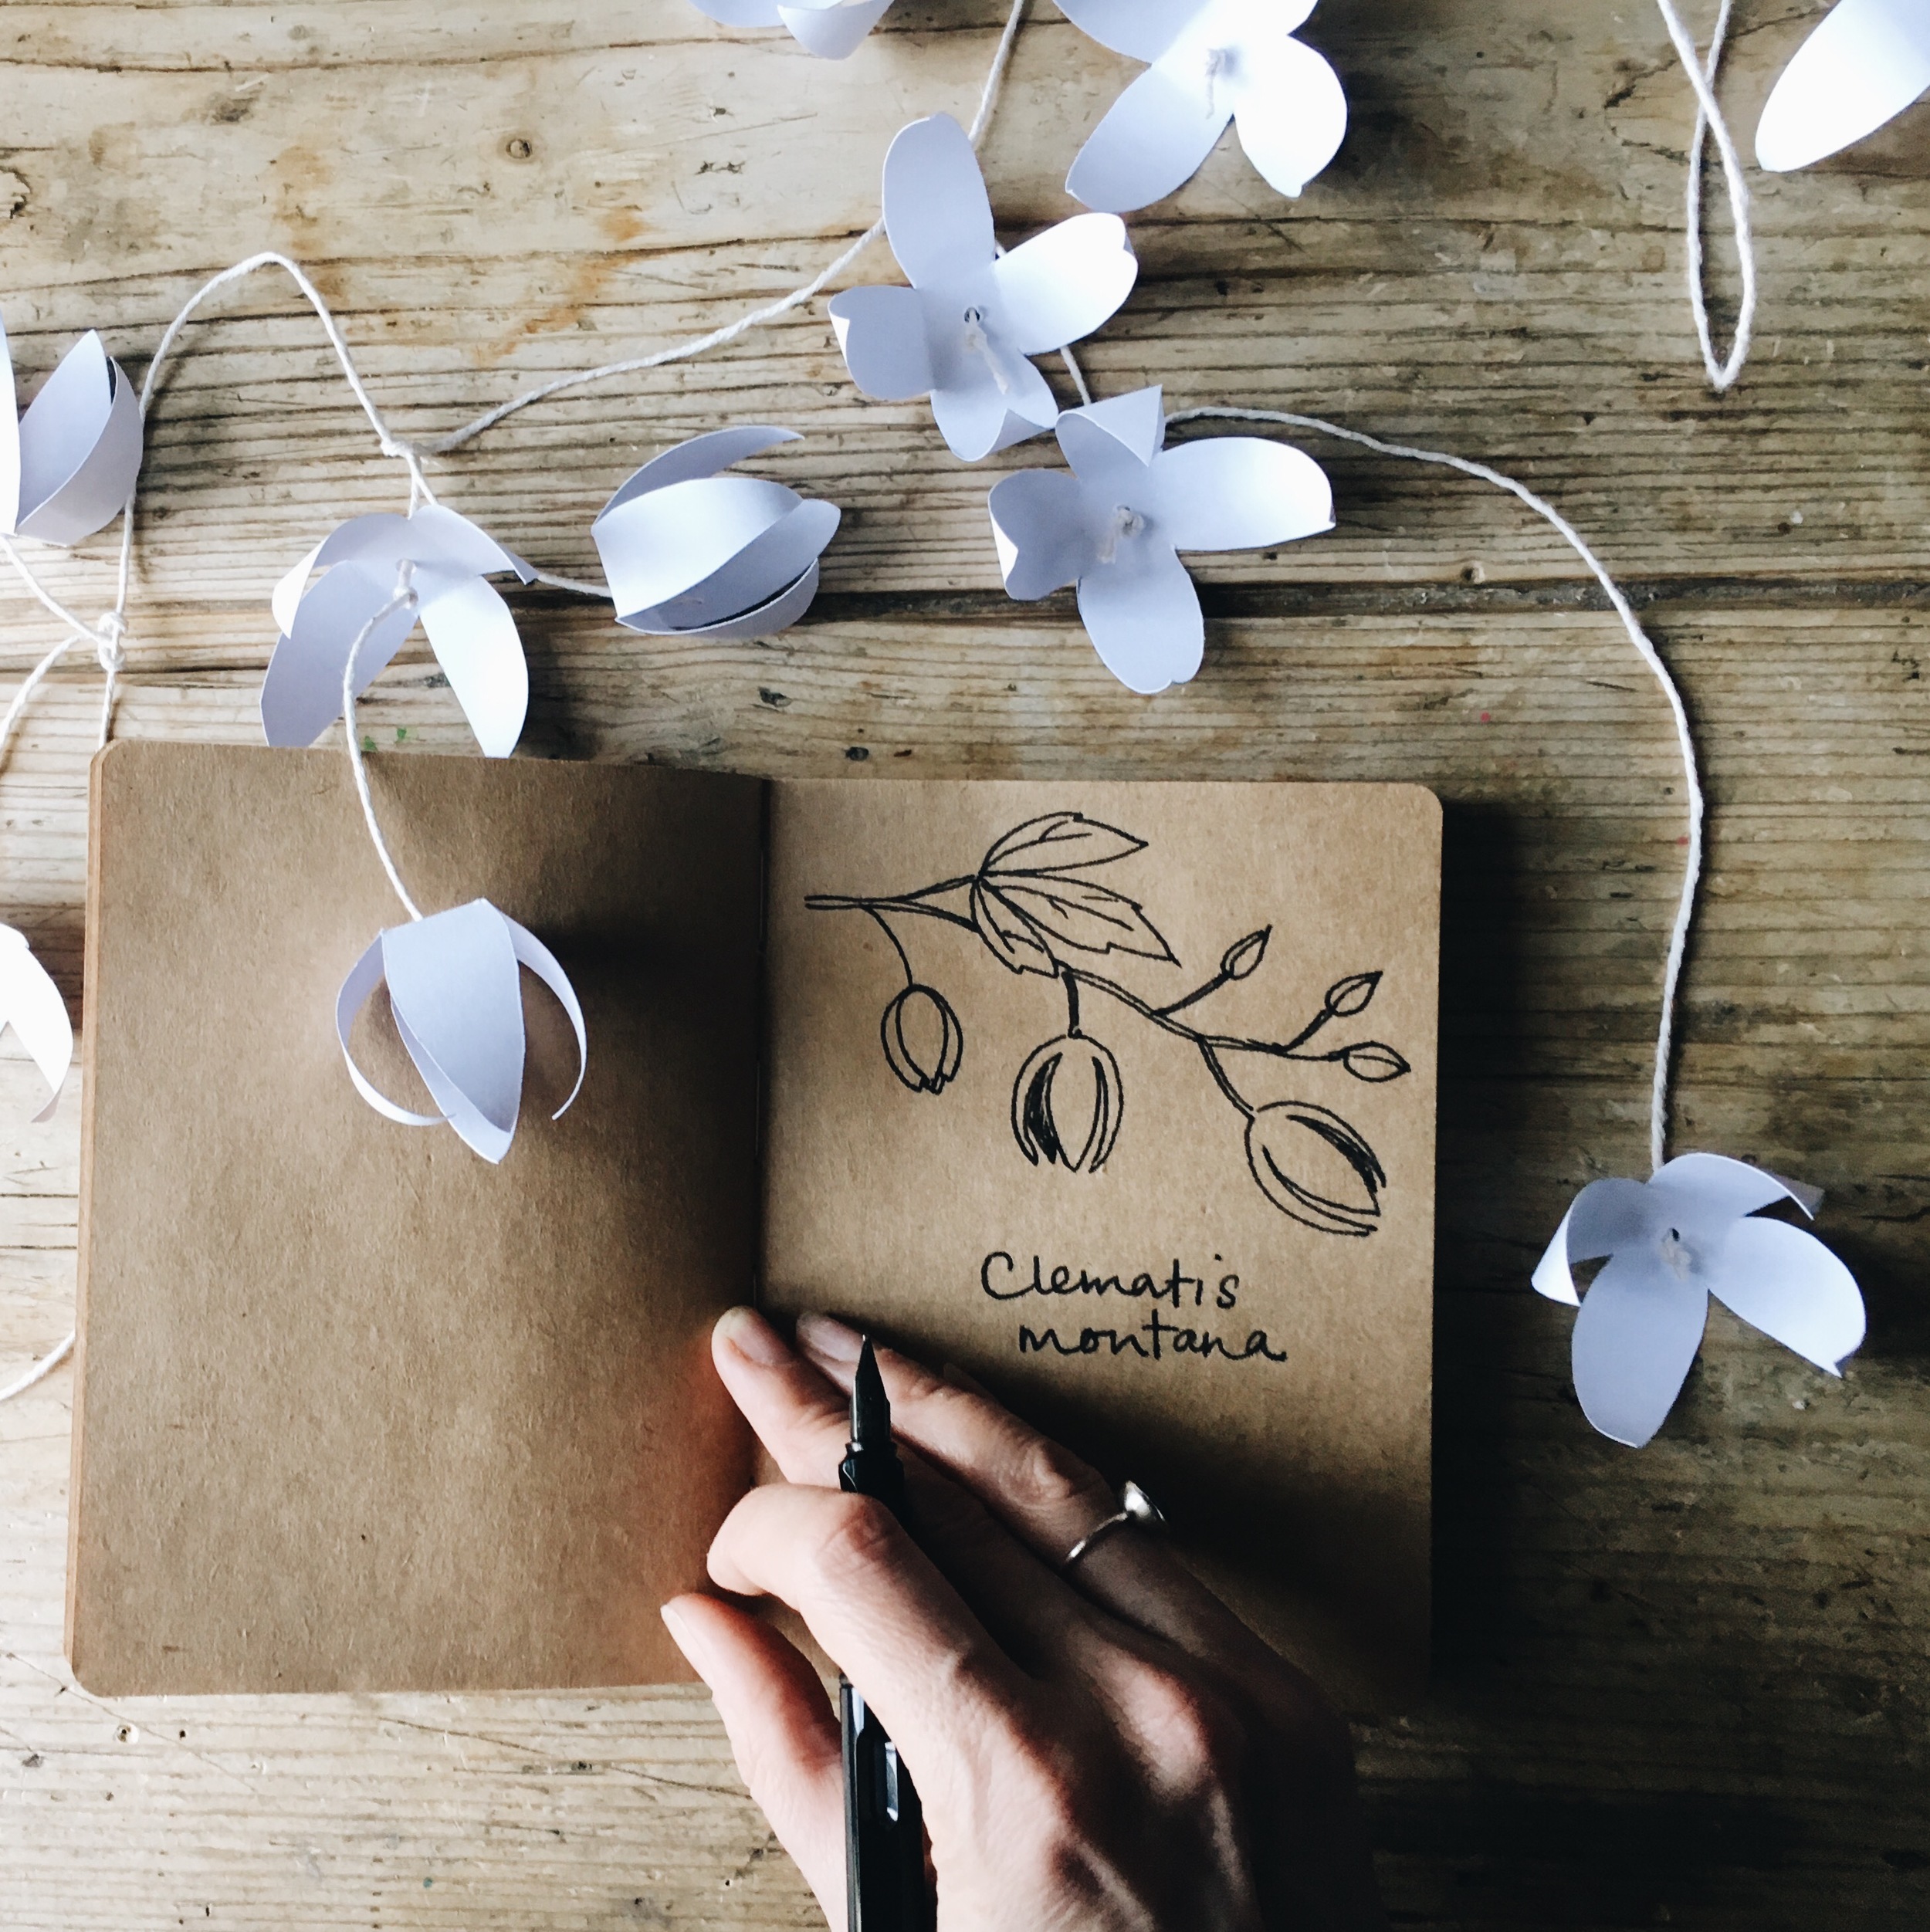
As Spring gathers pace there’s a week or so that I look forward to with flowery anticipation. A clematis montana grows (or rather clambers, triffid-like) over and around our cottage porch. These plants, available from most garden centres, are very close to their wild counterparts, which means they grow like BILLY-O*. Mine seems to thrive on neglect. I neither feed it nor prune it. The soil it grows in is a thin strip of parched, chalky, almost grey soil that we laughably call our front garden. It seems undeterred by the complete lack of rich, dark organic matter where it lives. When its crazy mane of fine twiggy branches get out of hand I hack at it a bit in the winter but that seems to egg it on even more.
The almost scary vigour of this seemingly indestructible yet beautiful plant means that on a certain day between mid April and early May the flowers begin to open. There are hundreds of them-they bloom in drifts at the front of the cottage. Pink on pink. Strangers stop to look at it as they pass by. Sometimes I overhear them saying ‘oof a gardener must live here’. Ha! A lazy one maybe.
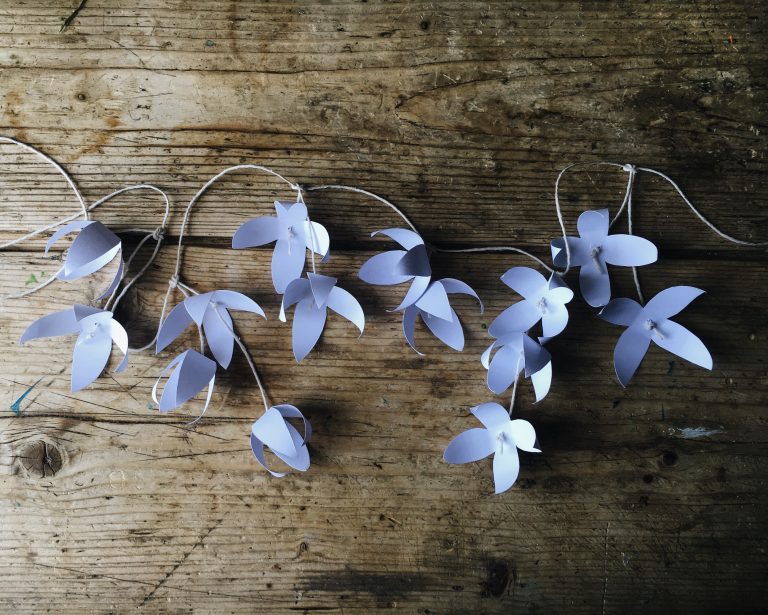
The riot of delicate four-petalled pale pink, and in my plant’s case scented flowers, is one of my favourite moments in this, my favourite season. I’m always rather sad when the last petal falls and the wait for that almost unreal exquisite flowery wig over the front of our house returns. I’ve designed a simple Spring garland inspired by the shape of clematis montana buds and the slender, rambling branches of this brilliant plant. If you make this there’ll be a spot of April in your home when July is in full swing and the flowers are long over, and even when Autumn creeps around the corner.
*proper, technical gardening term
Image by Emma Mitchell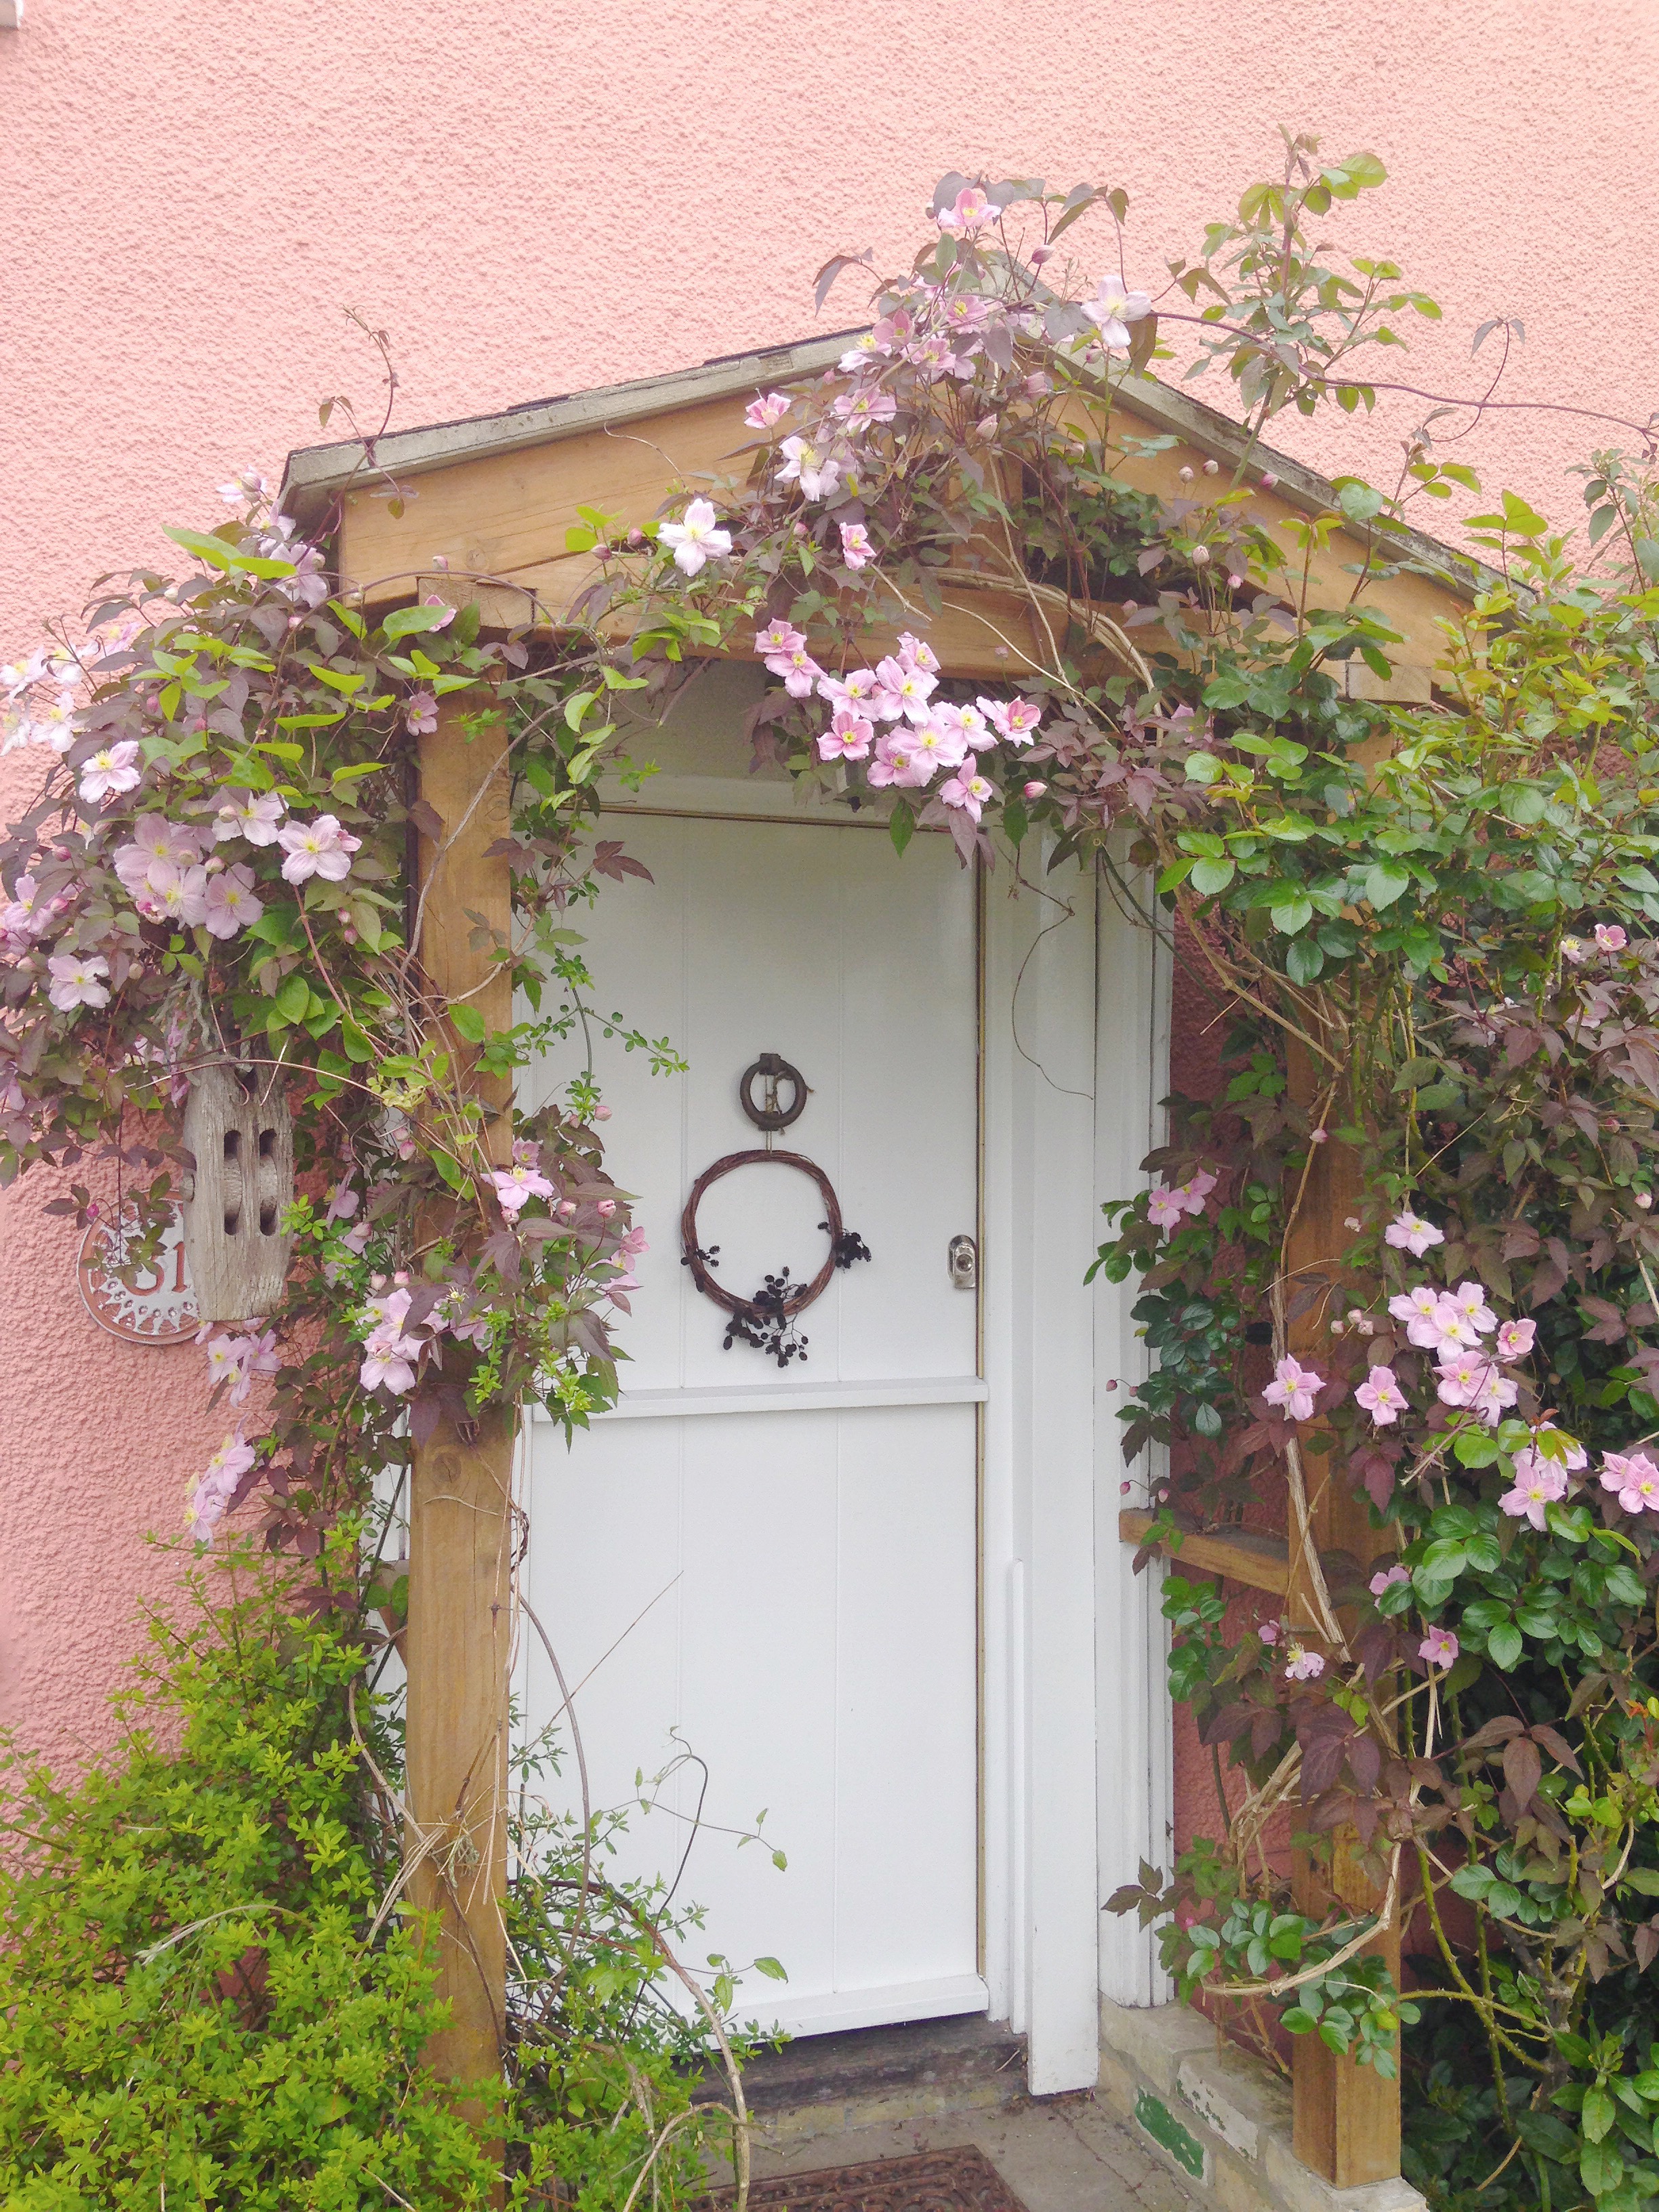
You will need
Thin card, preferably white
Scissors
Household string (the white kind sold in most post offices works really well)
Washi tape to hang garland (optional)
Spiky something-or-other to make holes in your cardboard buds eg. knitting needle, sharp pencil
Image by Emma Mitchell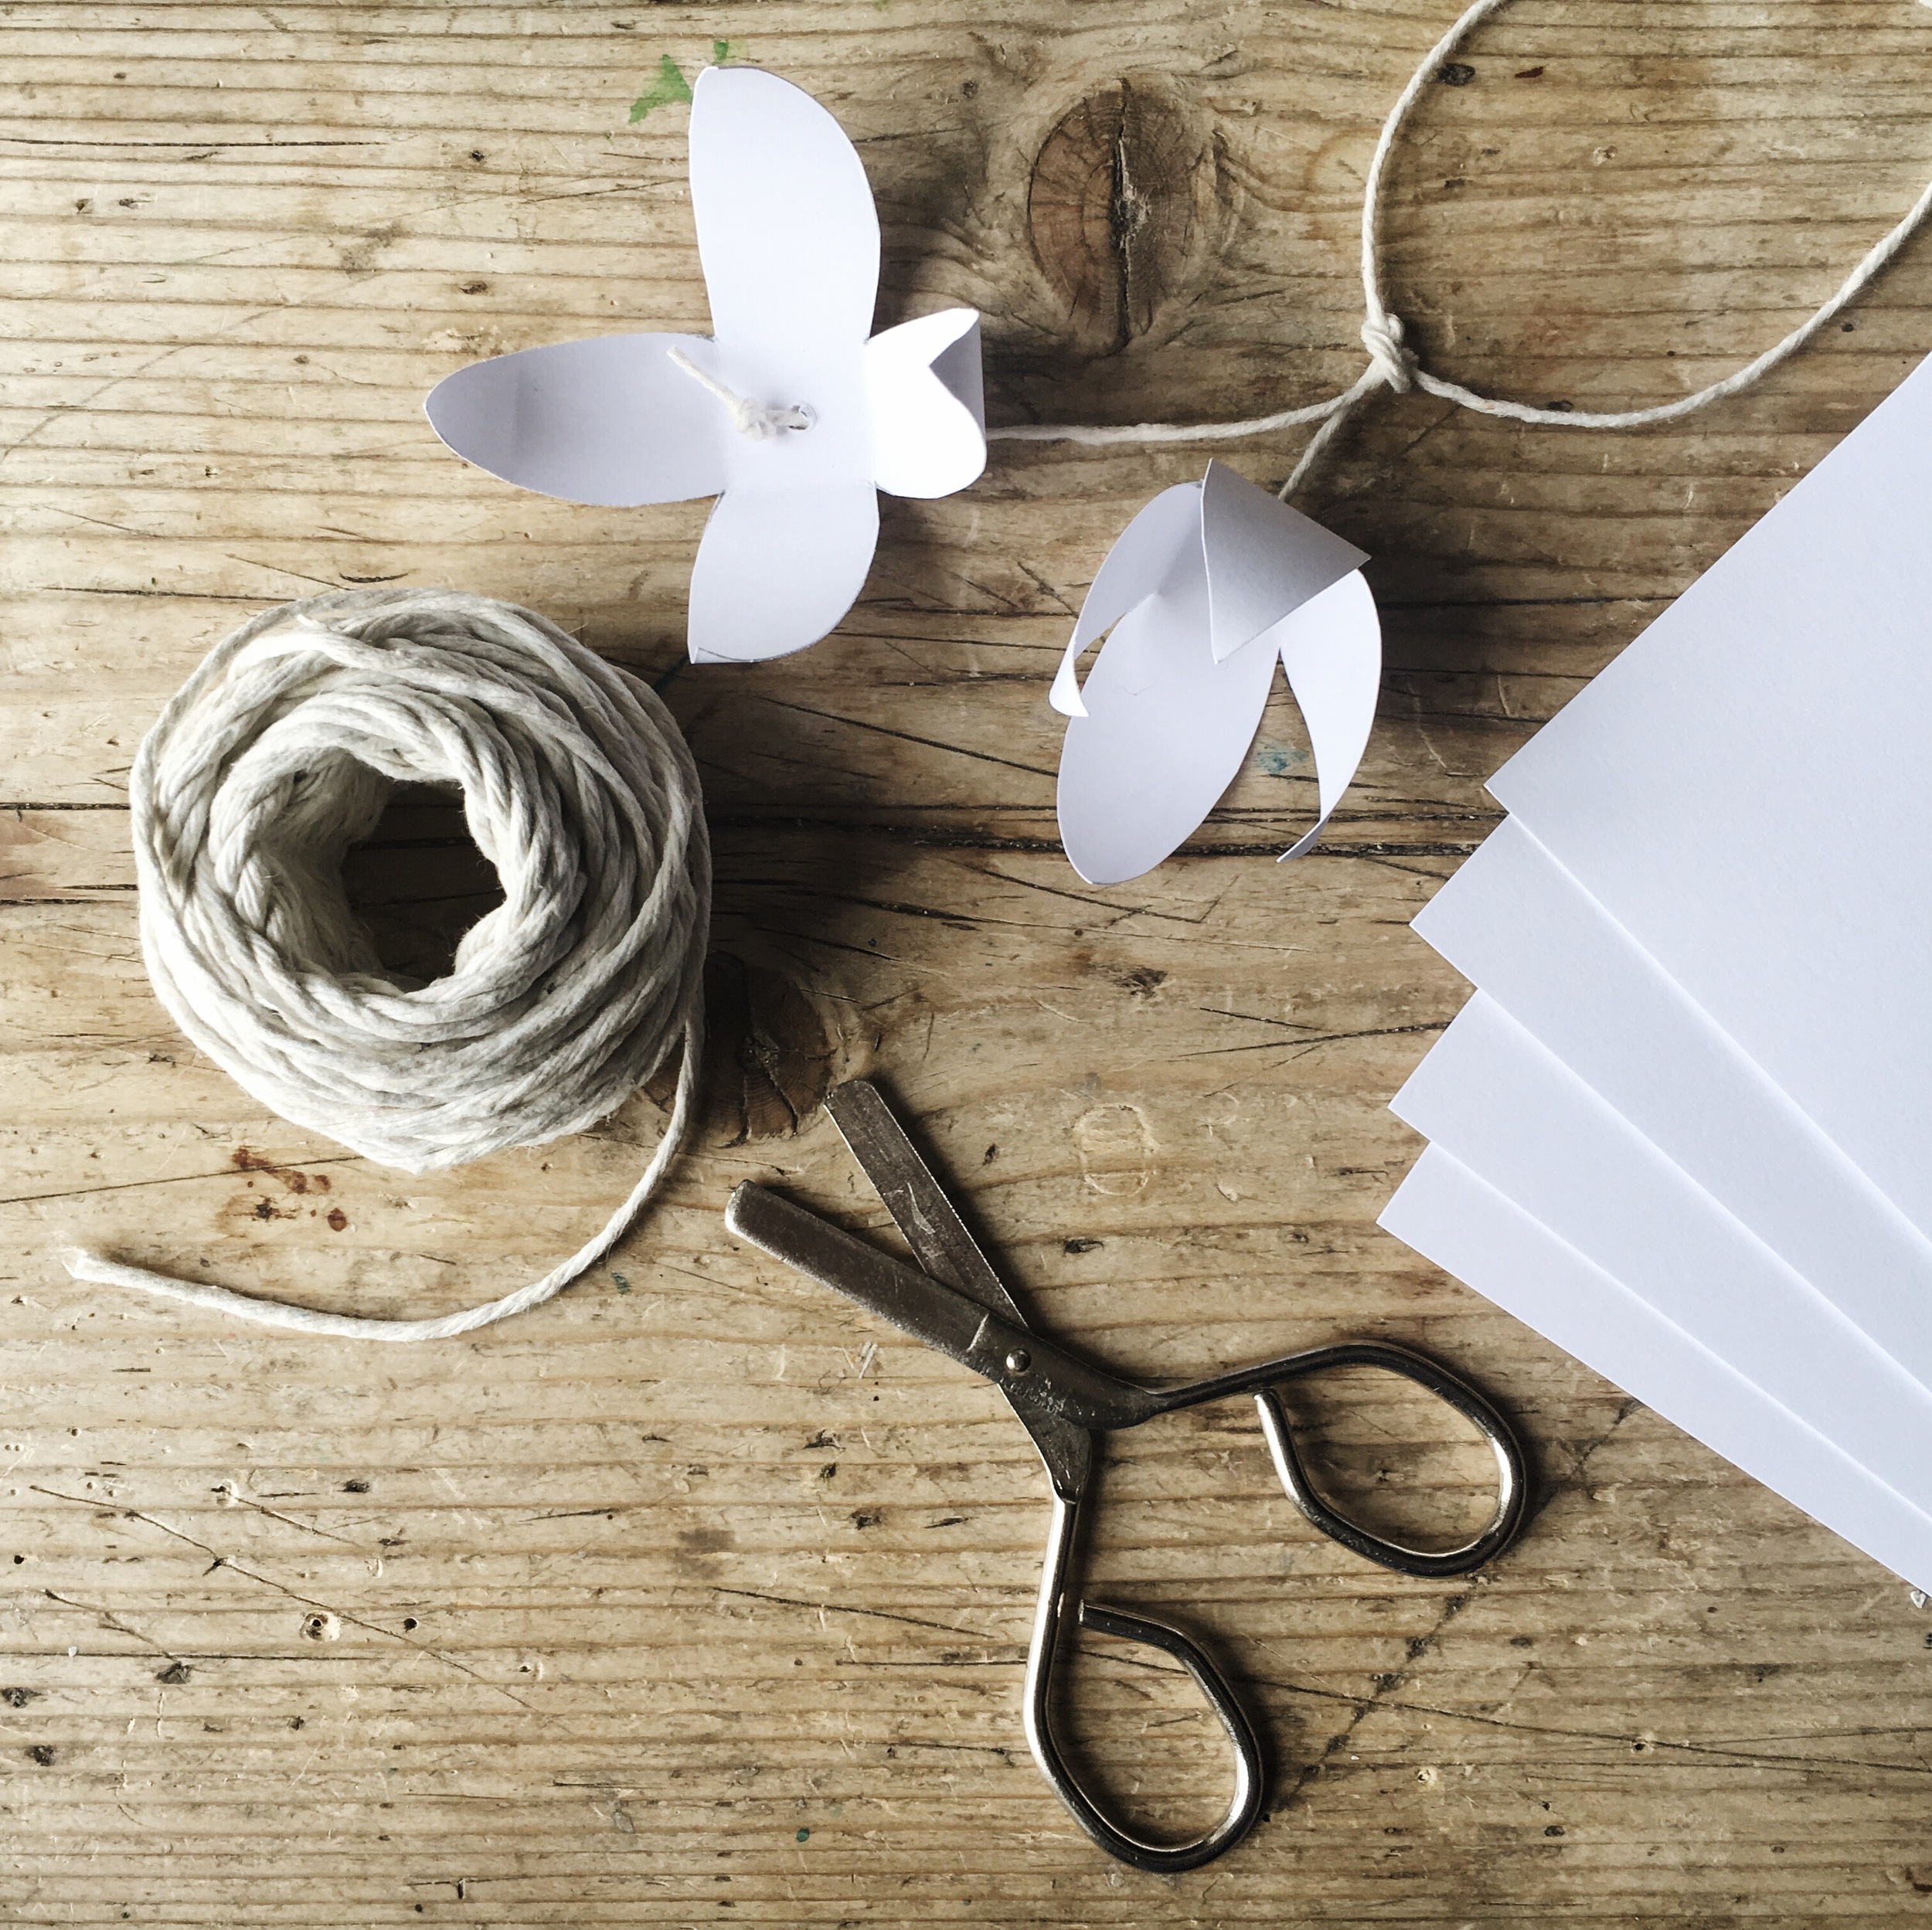
Step-by-step
1. Click on the link at the bottom of this post to open the clematis template and then save it to your computer. Print it onto thin card. Cut out and draw around it as many times as you’d like clematis buds/flowers on your garland.
Image by Emma Mitchell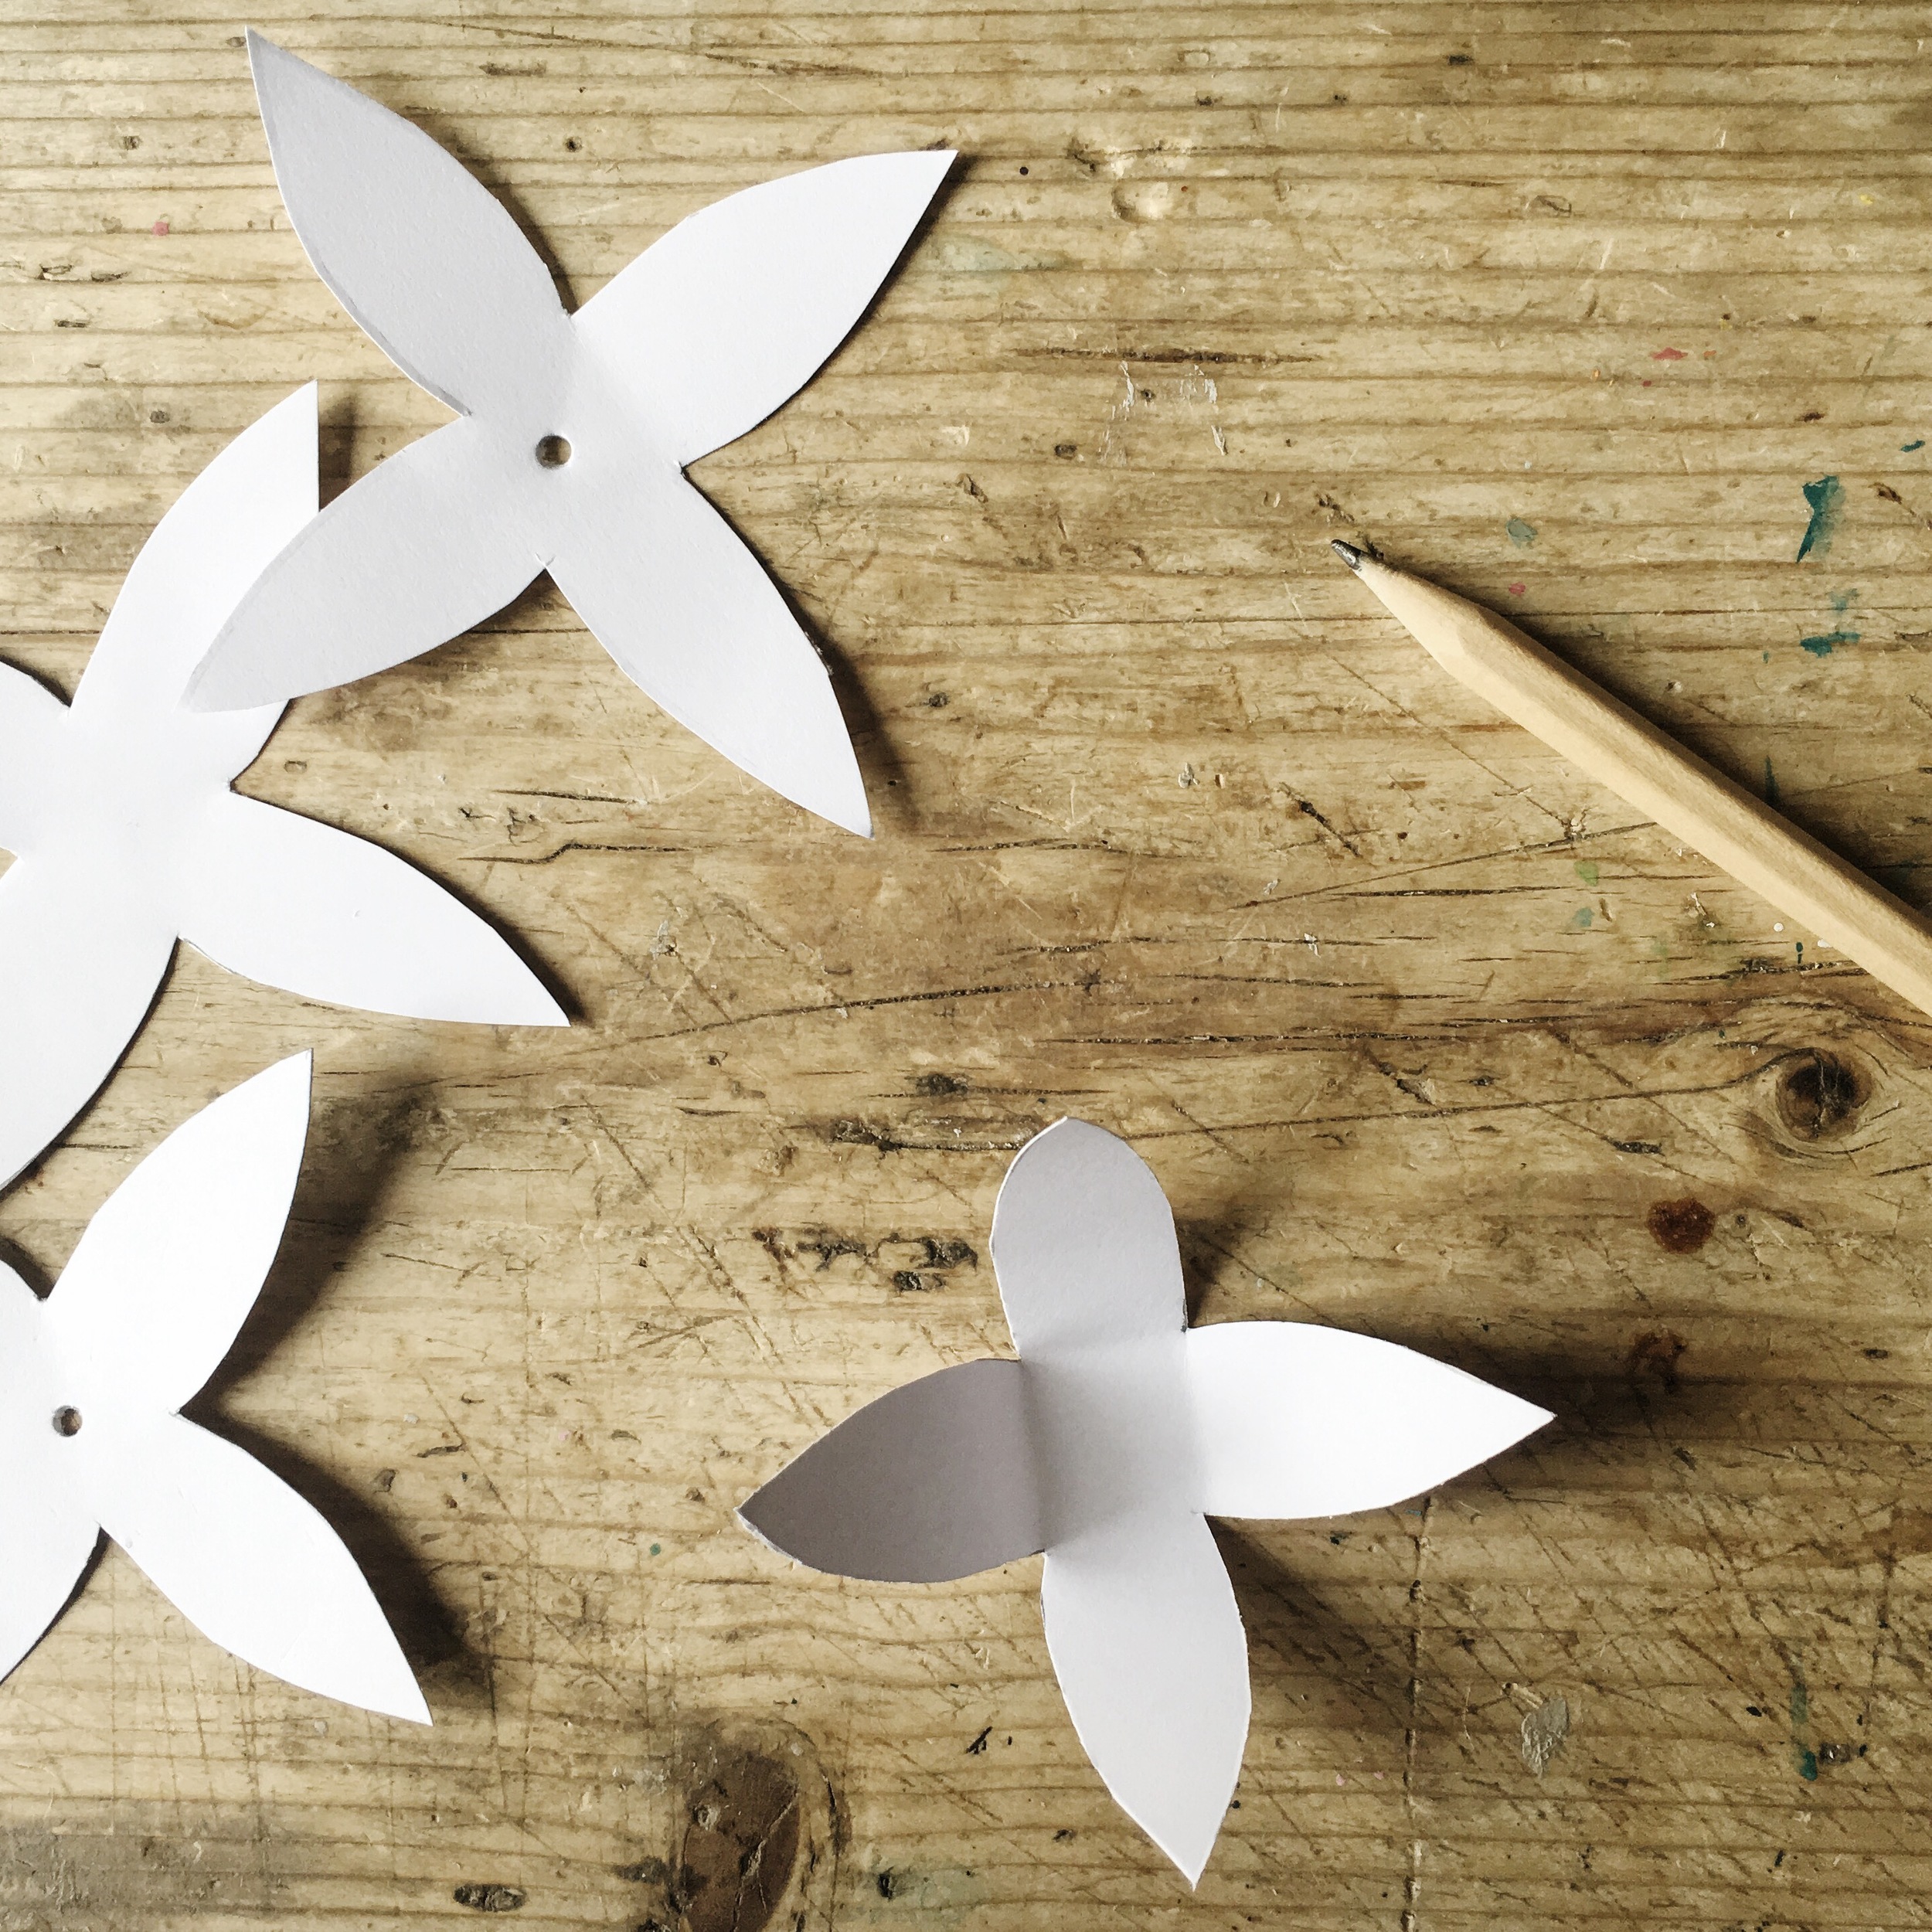
2. Cut out each flower, make a 3mm (ish) hole in the very centre with a fine knitting needle, blade of your scissors or a sharp pencil.
Image by Emma Mitchell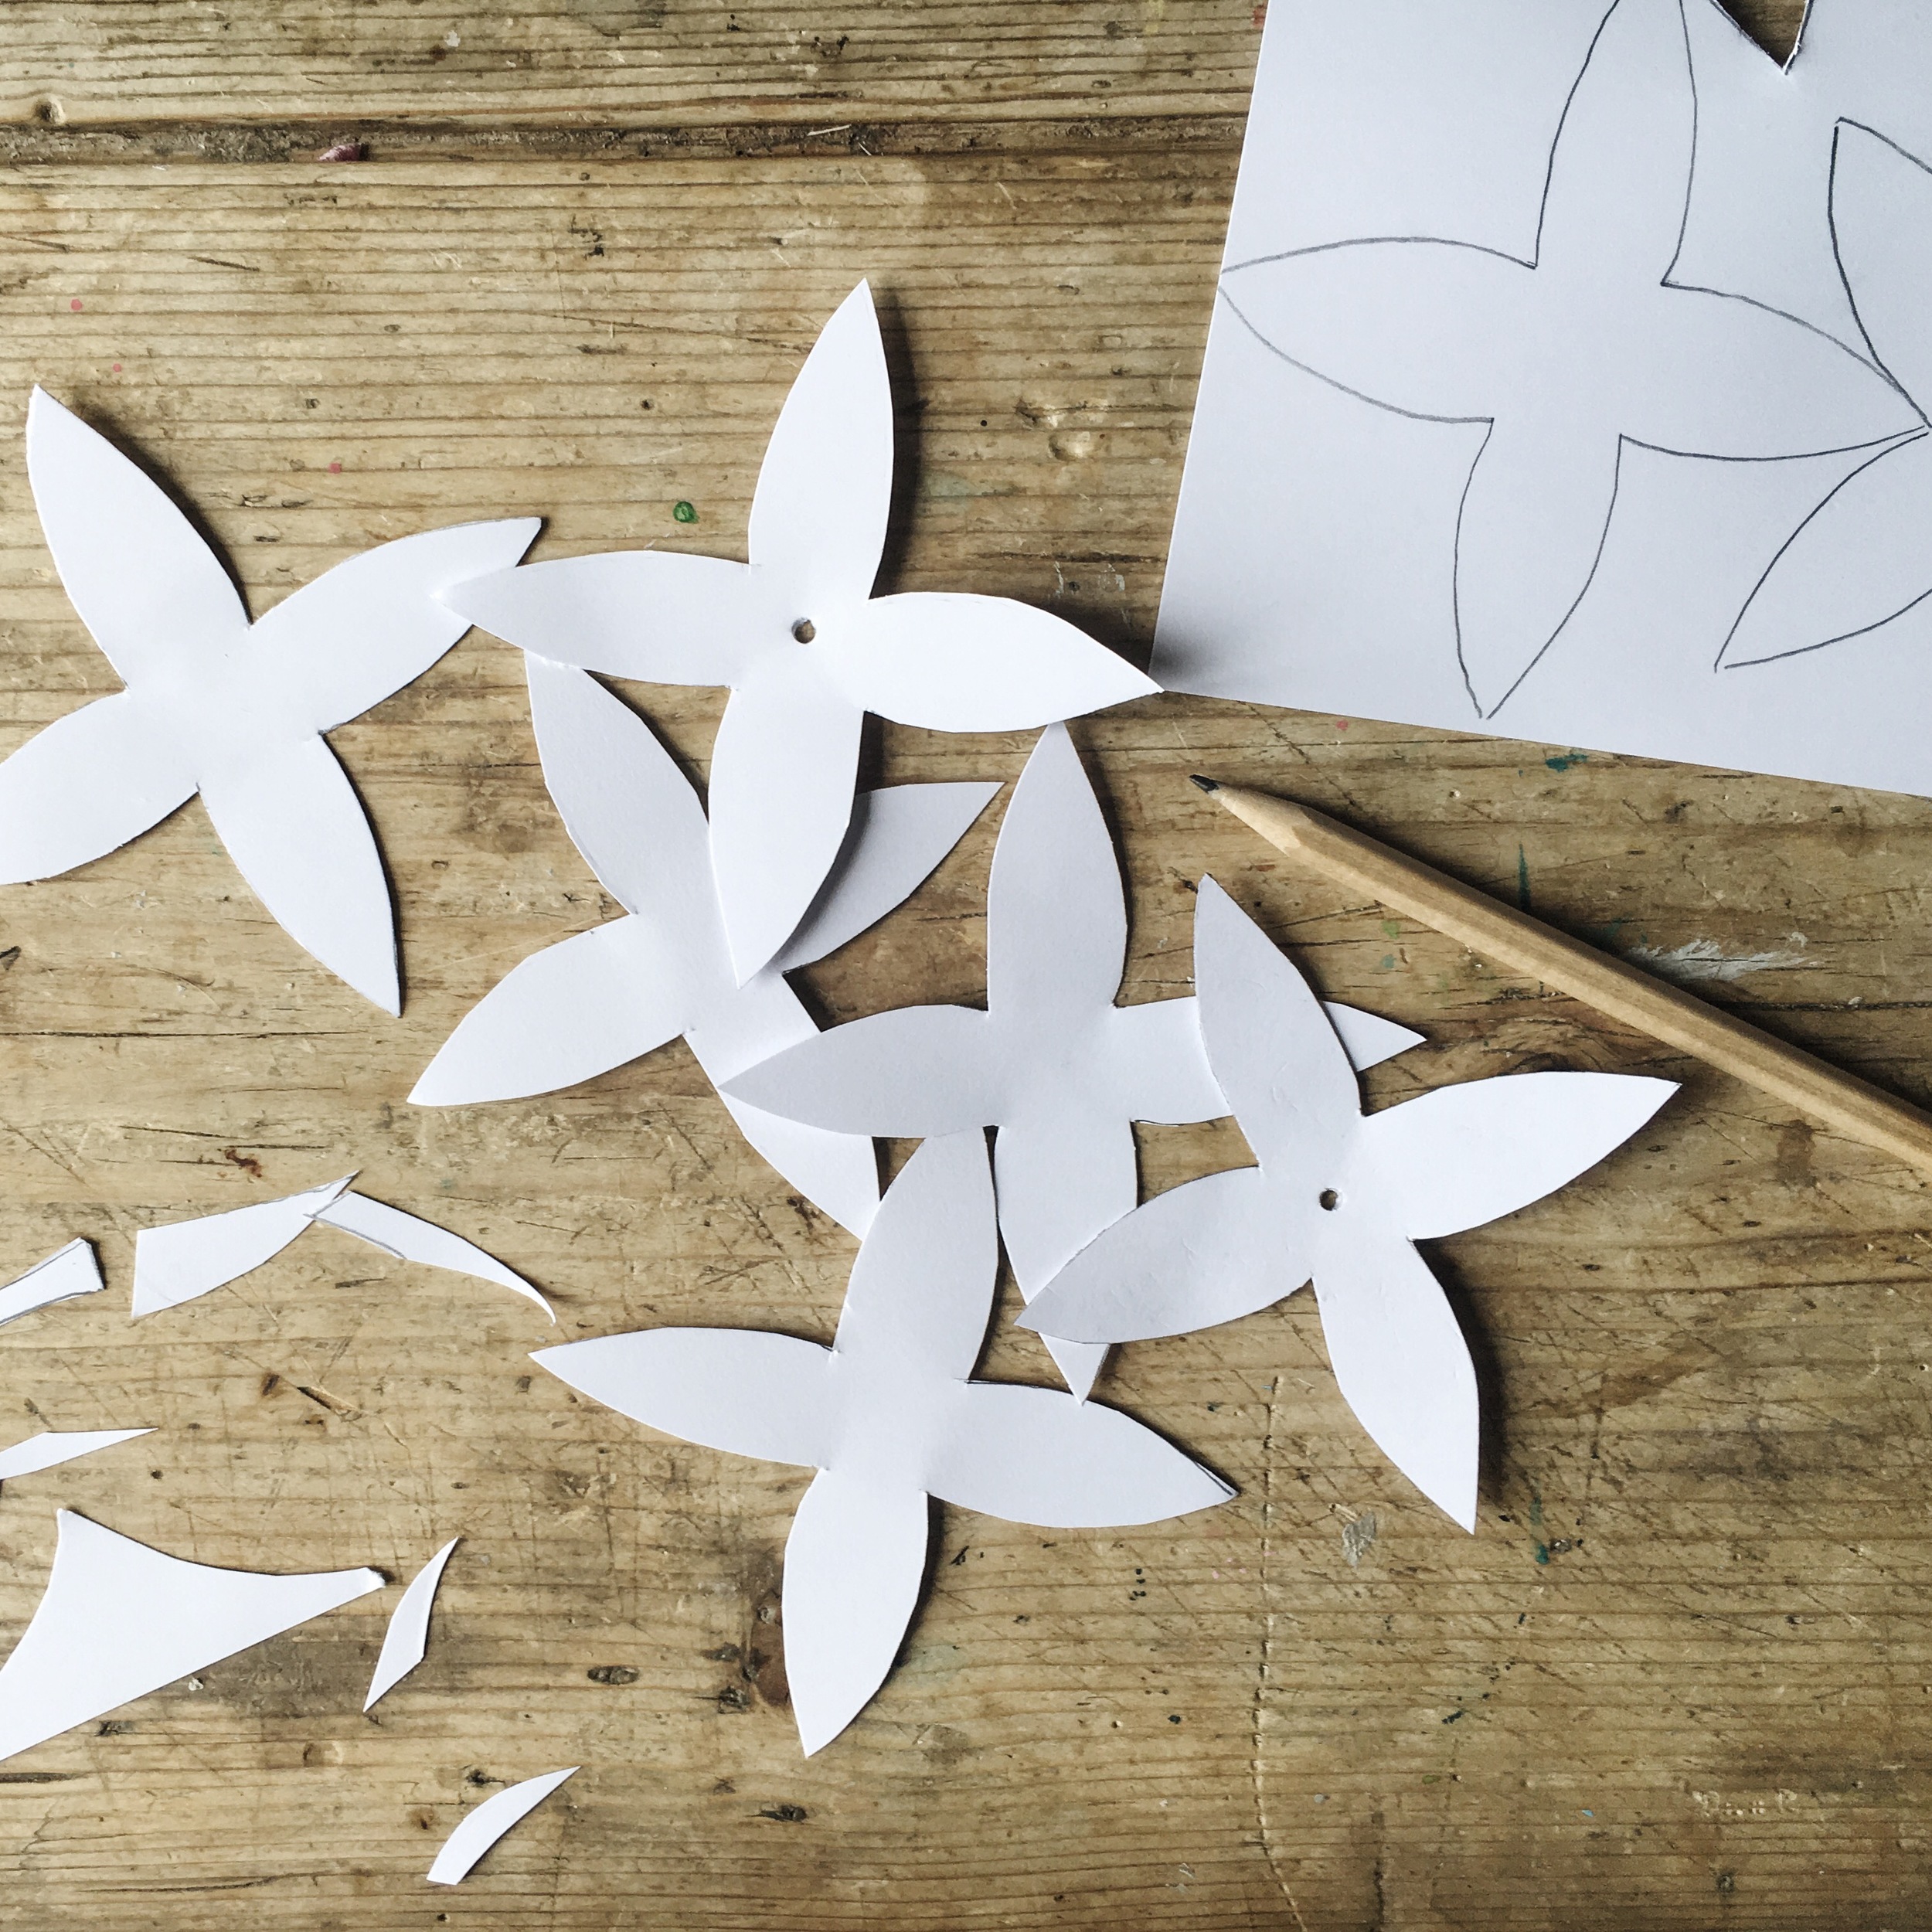
3. Make your buds/flowers look realistic by dragging one of the blades of your scissors gently along each petal to make it curve inwards slightly.
Image by Emma Mitchell
4. Cut a length of string around 1.5-2m long. This will be the main string of your garland.
5. Cut shorter pieces of string around 20cm long -these will be your shorter ‘stems on which the buds will hang.
6. Tie a knot close to the end of one of the shorter pieces of string and thread one of your clematis buds onto the string. The knots will prevent the bud from falling off.

7. Tie the piece of string with the bud attached onto your main string using a larks head knot as shown. Don’t pull the larks head knot too tight. It doesn’t matter where on the main string you attach the shorter string at this stage.
Image by Emma Mitchell
8. Thread another clematis bud onto the other end of the shorter string so that it hangs downward like the first.
9. Push this second bud up the string and tie a knot in the position you’d like it to hang. To make your garland/clematis plant look authentic avoid making each string ‘stem’ the same length – cut some so they’re long and some shorter.
Image by Emma Mitchell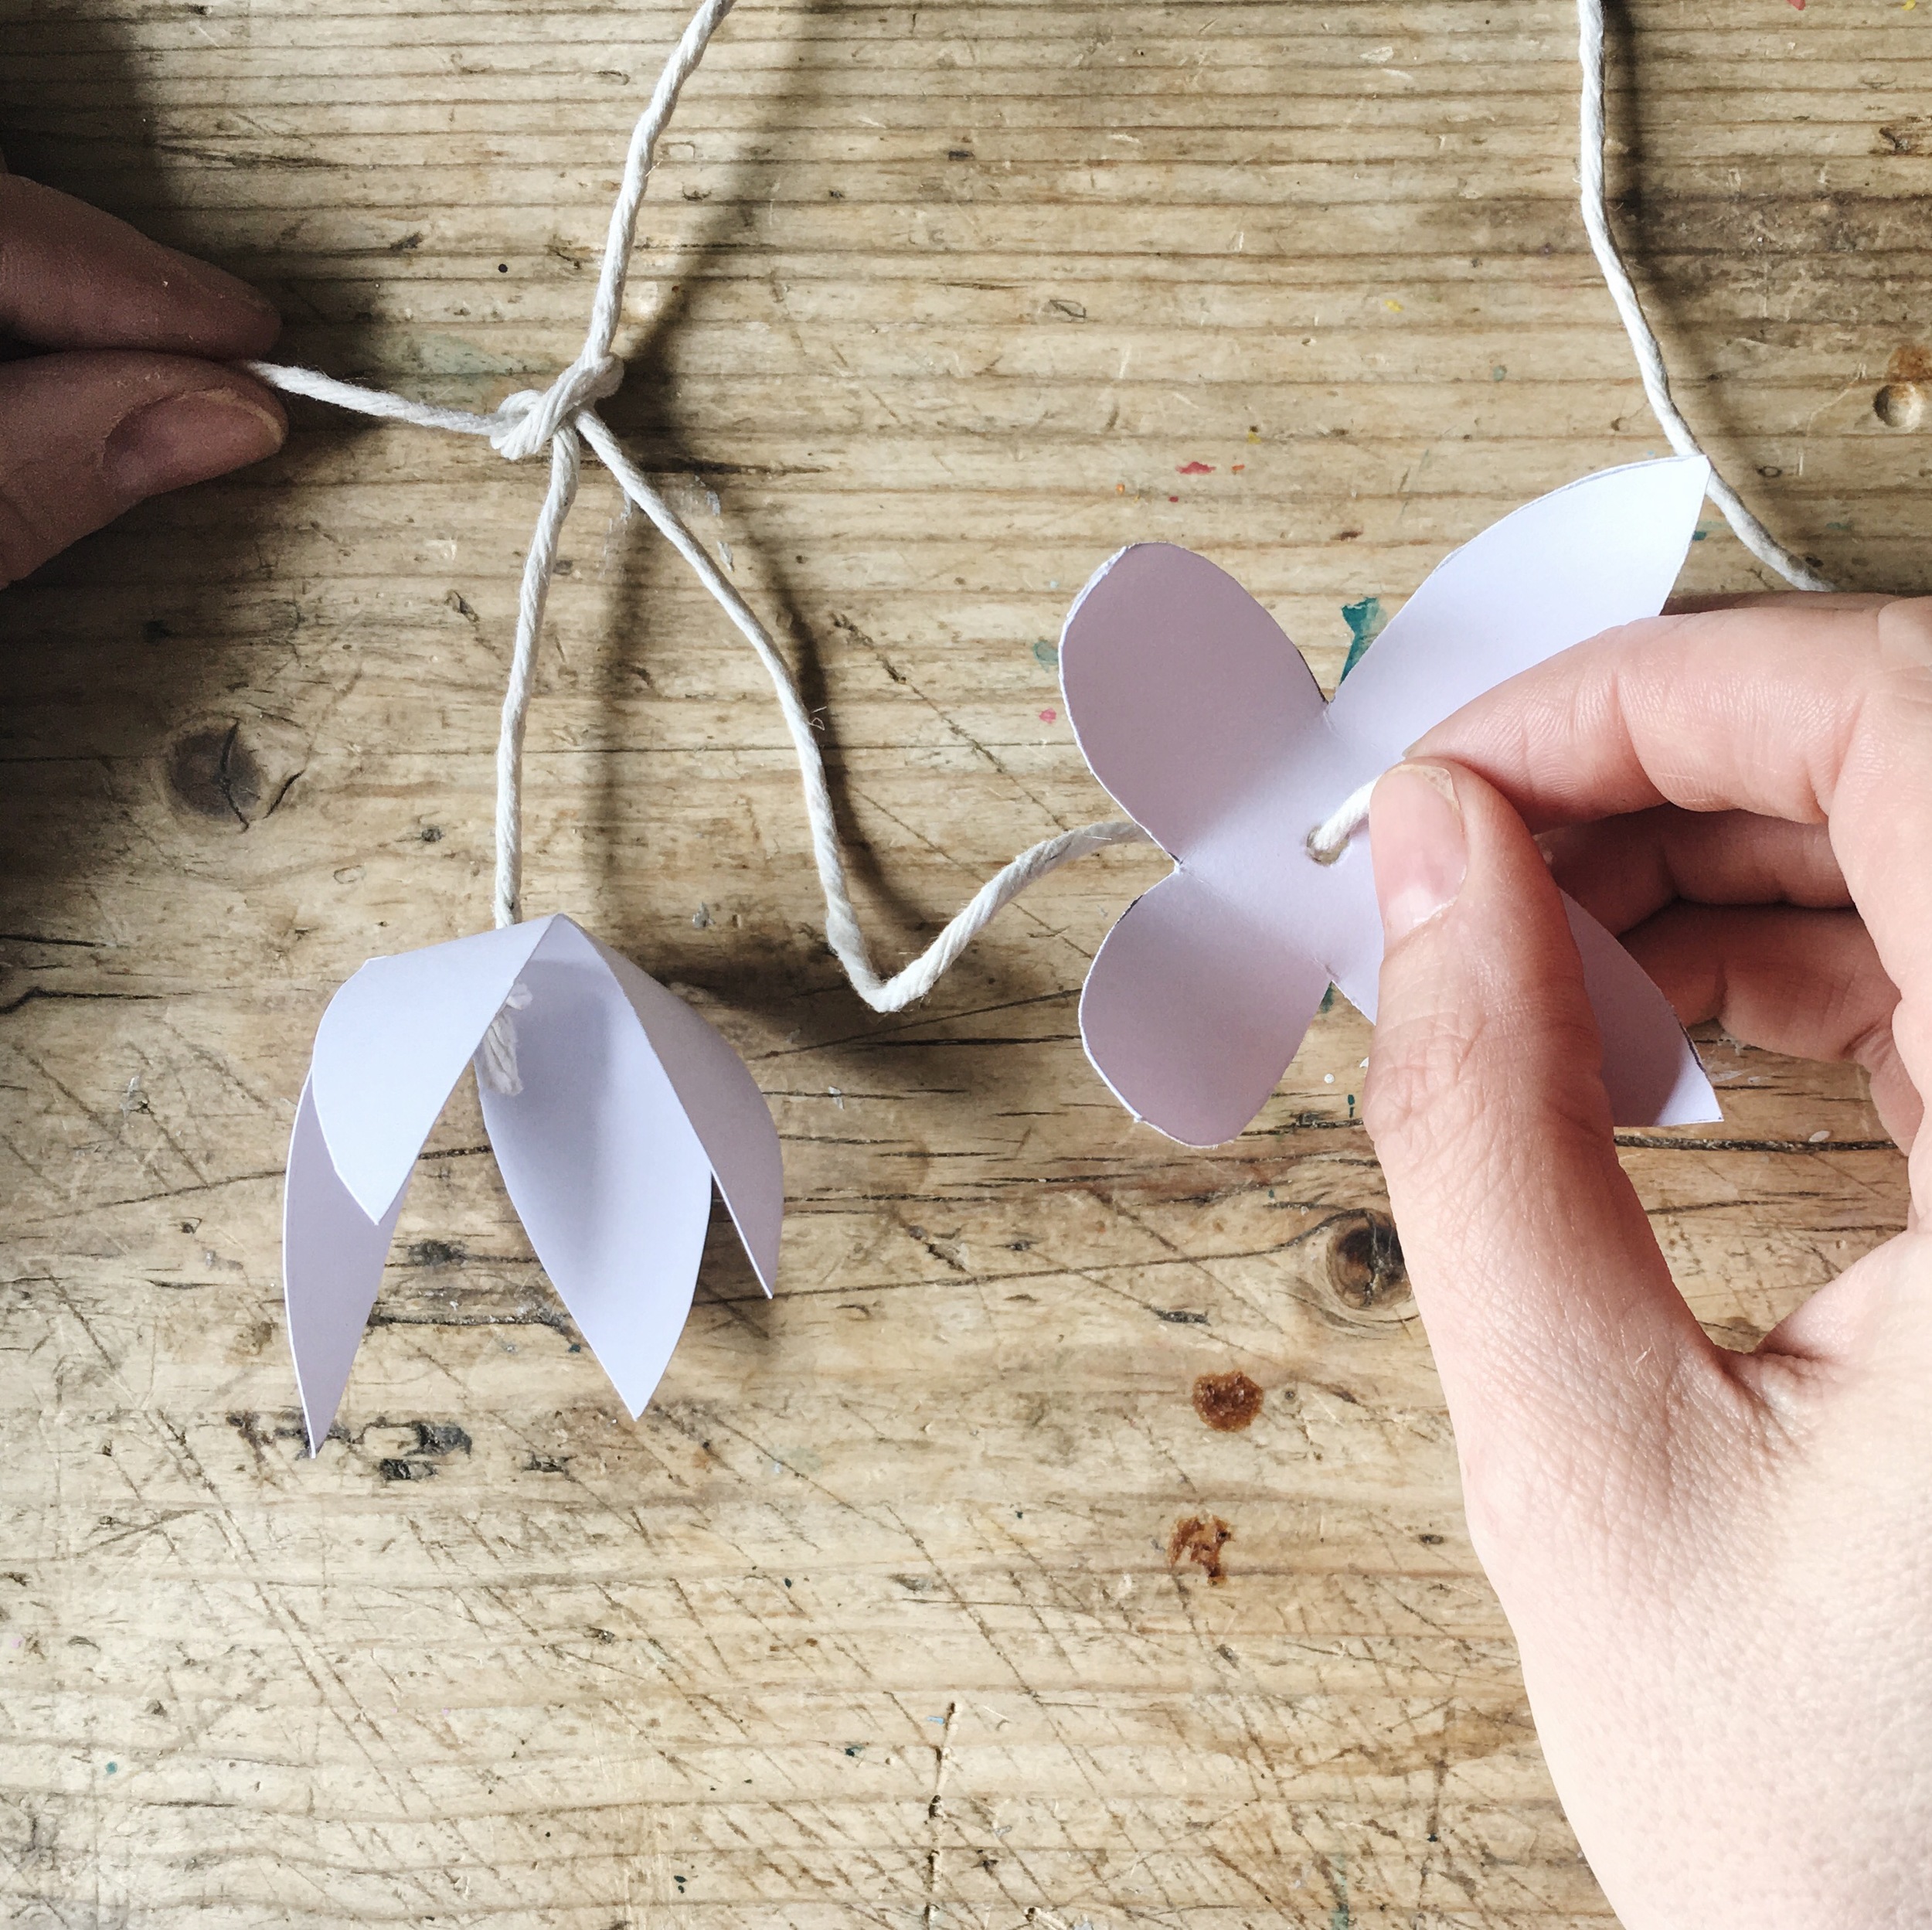
10. Repeat steps 4-9 as many times as you need to add all your buds to your garland.
11. Move your clusters of buds along the main string until your happy with the arrangement-if your knots are a bit tight loosen them a little so they’ll move easily on the main string.
12. To make your clematis branch look even more natural, when adding the second bud to each piece of string tie a single knot fairly close to the main string, then add a second bud and another knot to hold it near the end, forming a cluster of three buds using one length of string.
Image by Emma Mitchell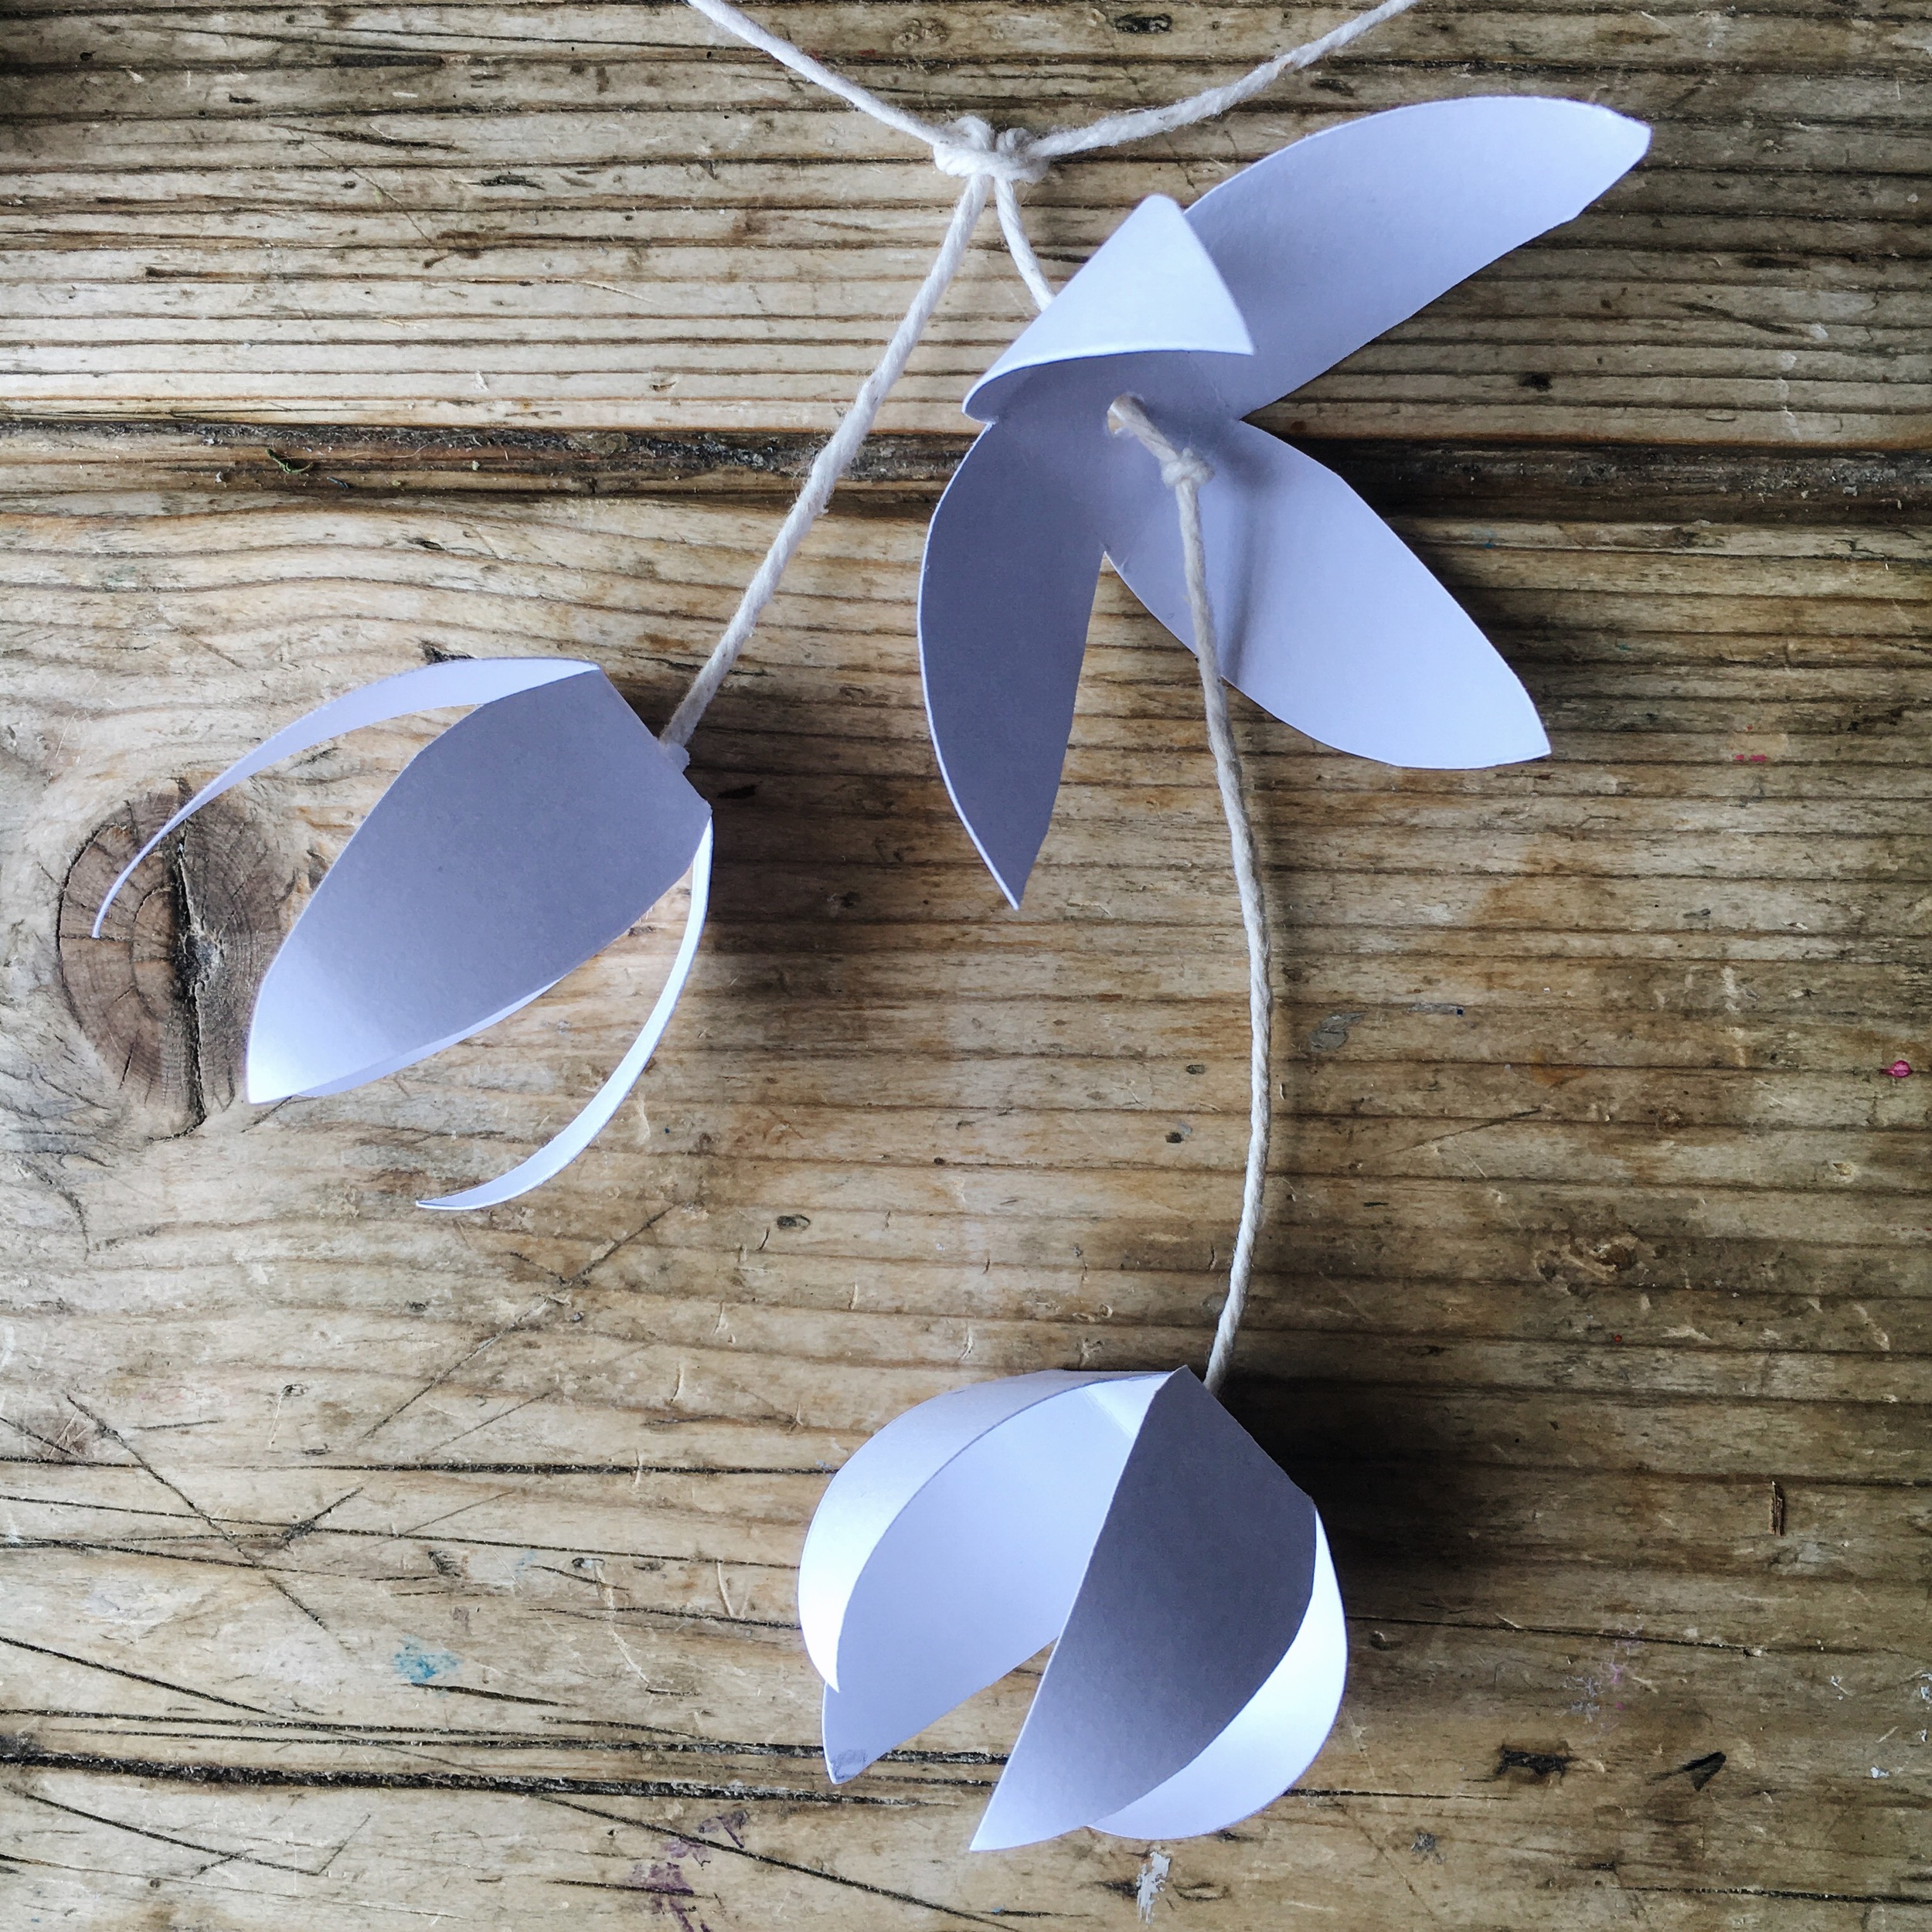
13. Stick your garland to a wall, along a shelf or suspend from the ceiling eg. using washi tape.
14. Stand back and admire your bit of handmade Spring!
Image by Emma Mitchell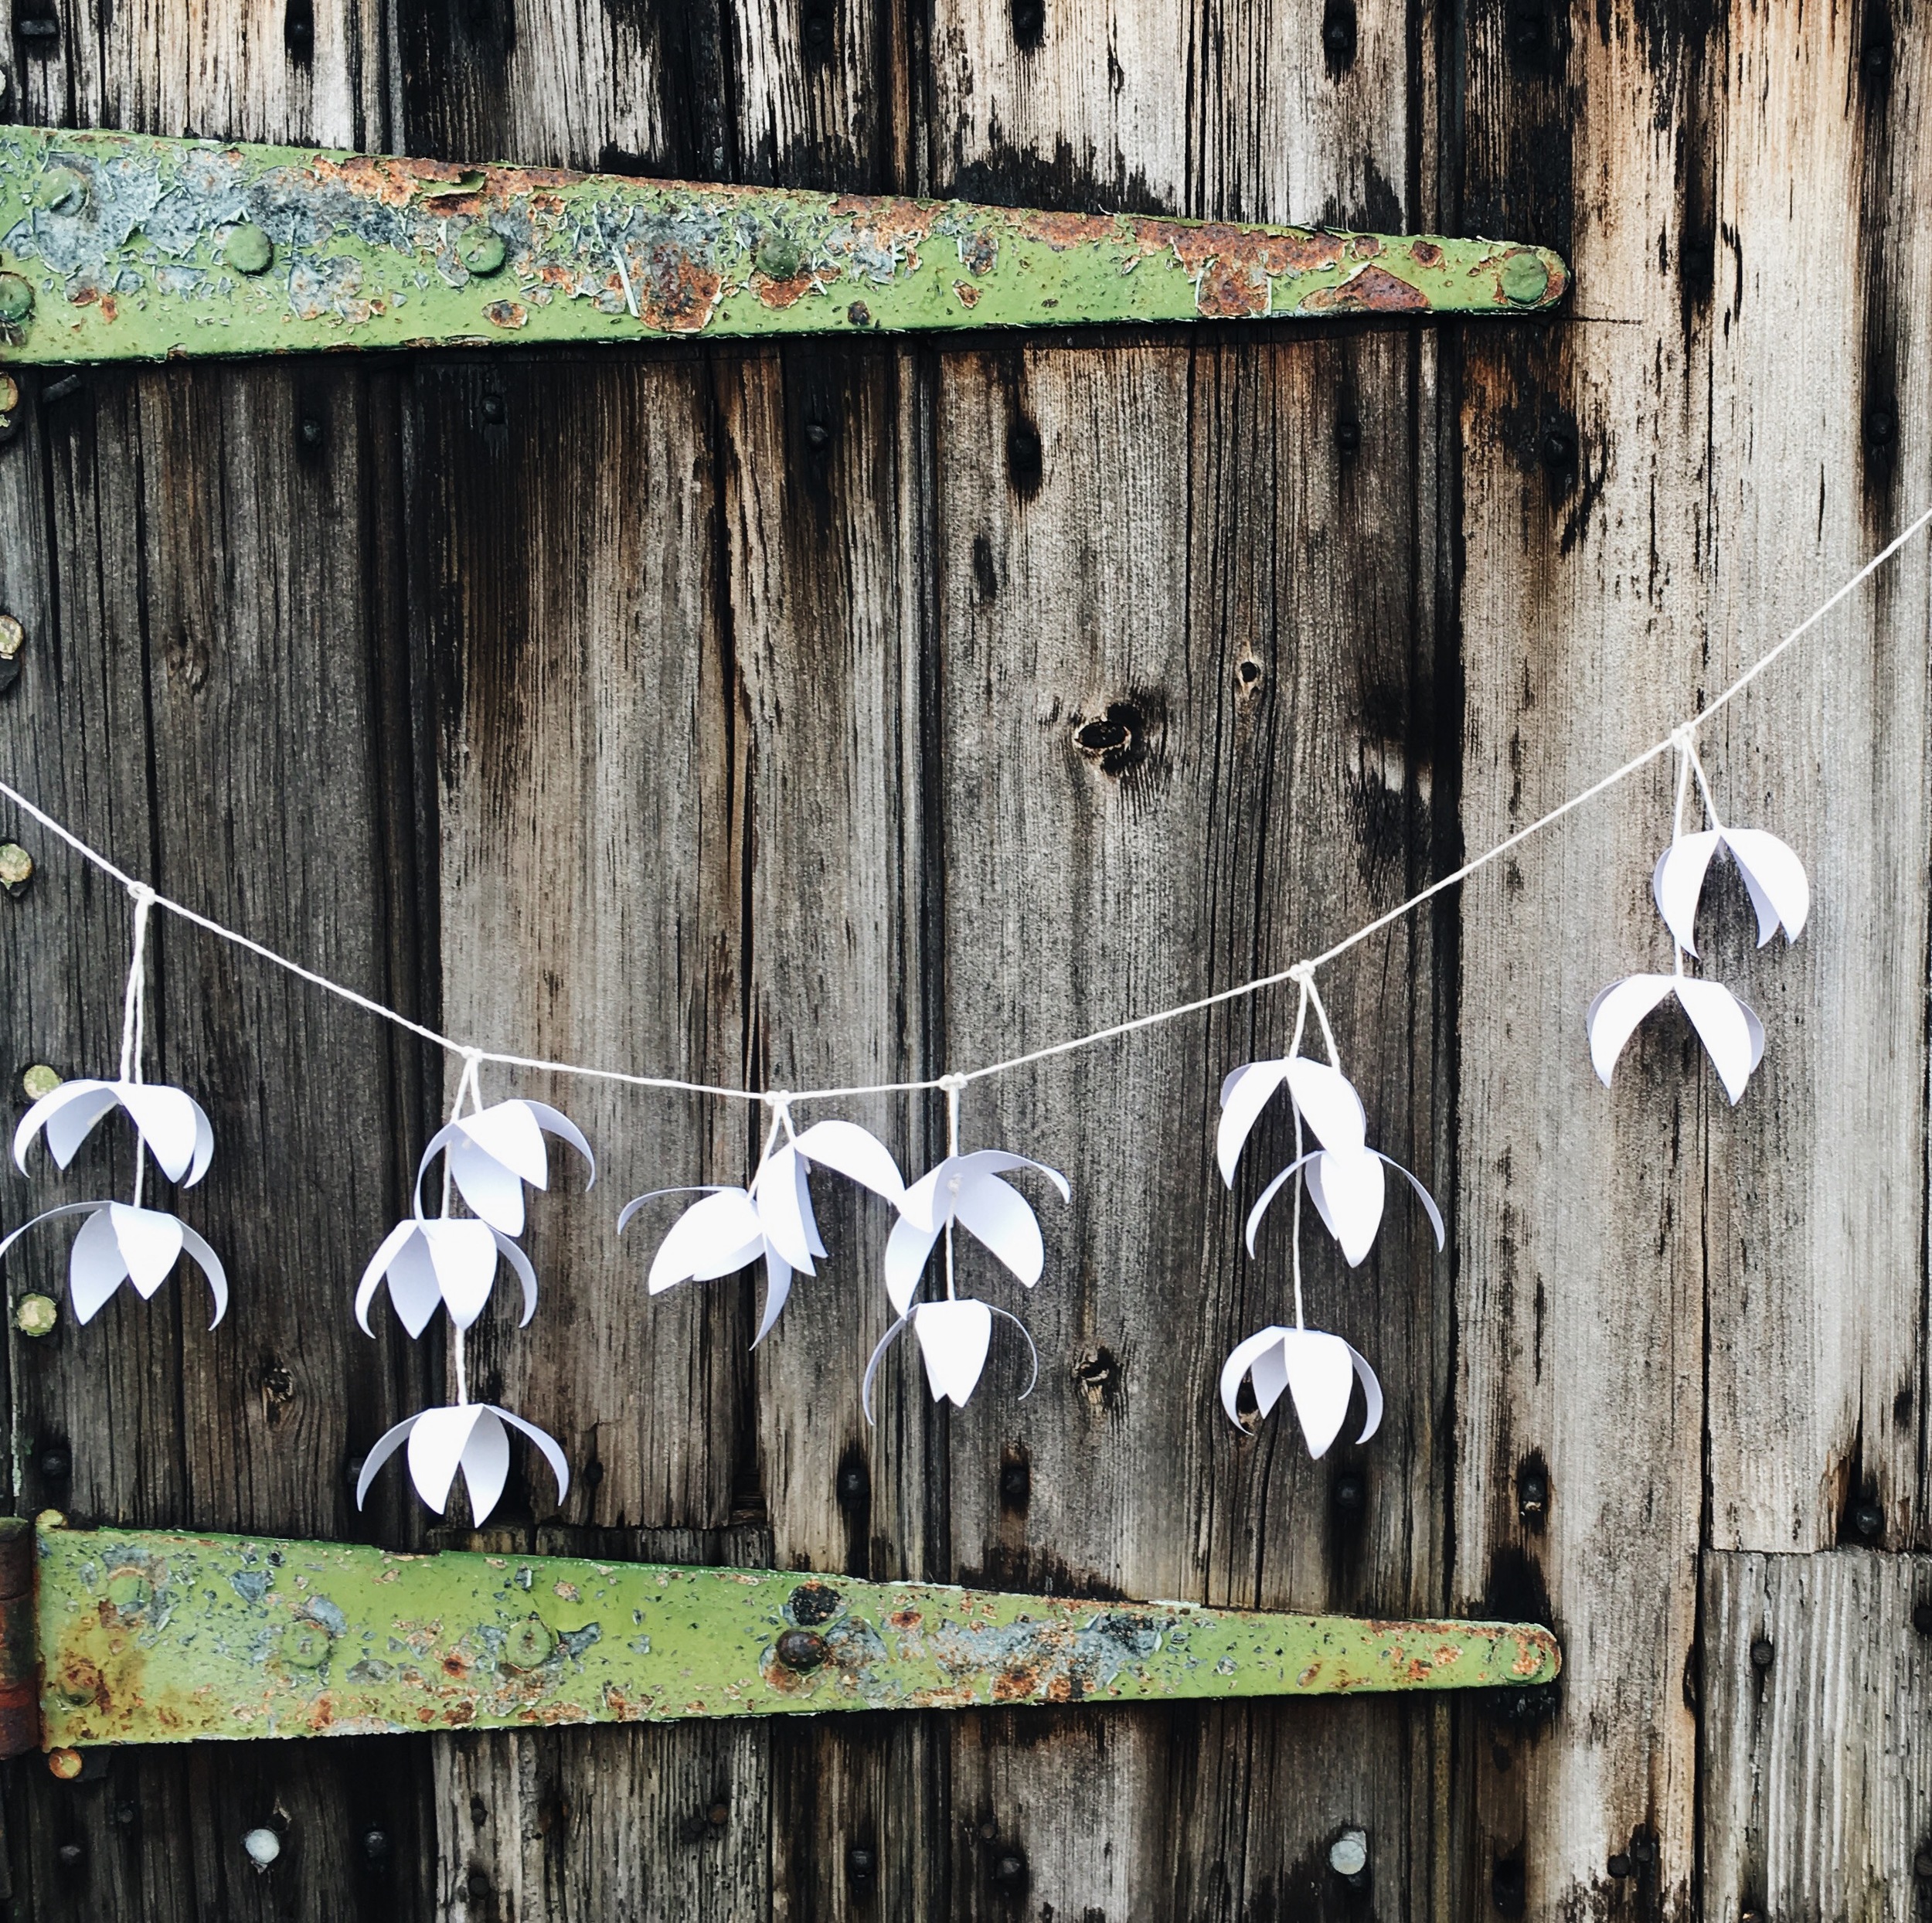
Click here to download the template.
You can find Emma in the following places…
Website: Silverpebble.net | Instagram: @silverpebble2 | Twitter: @silverpebble
Pinterest: Silverpebble